Creating a Decanted Pantry with Henry and Higby
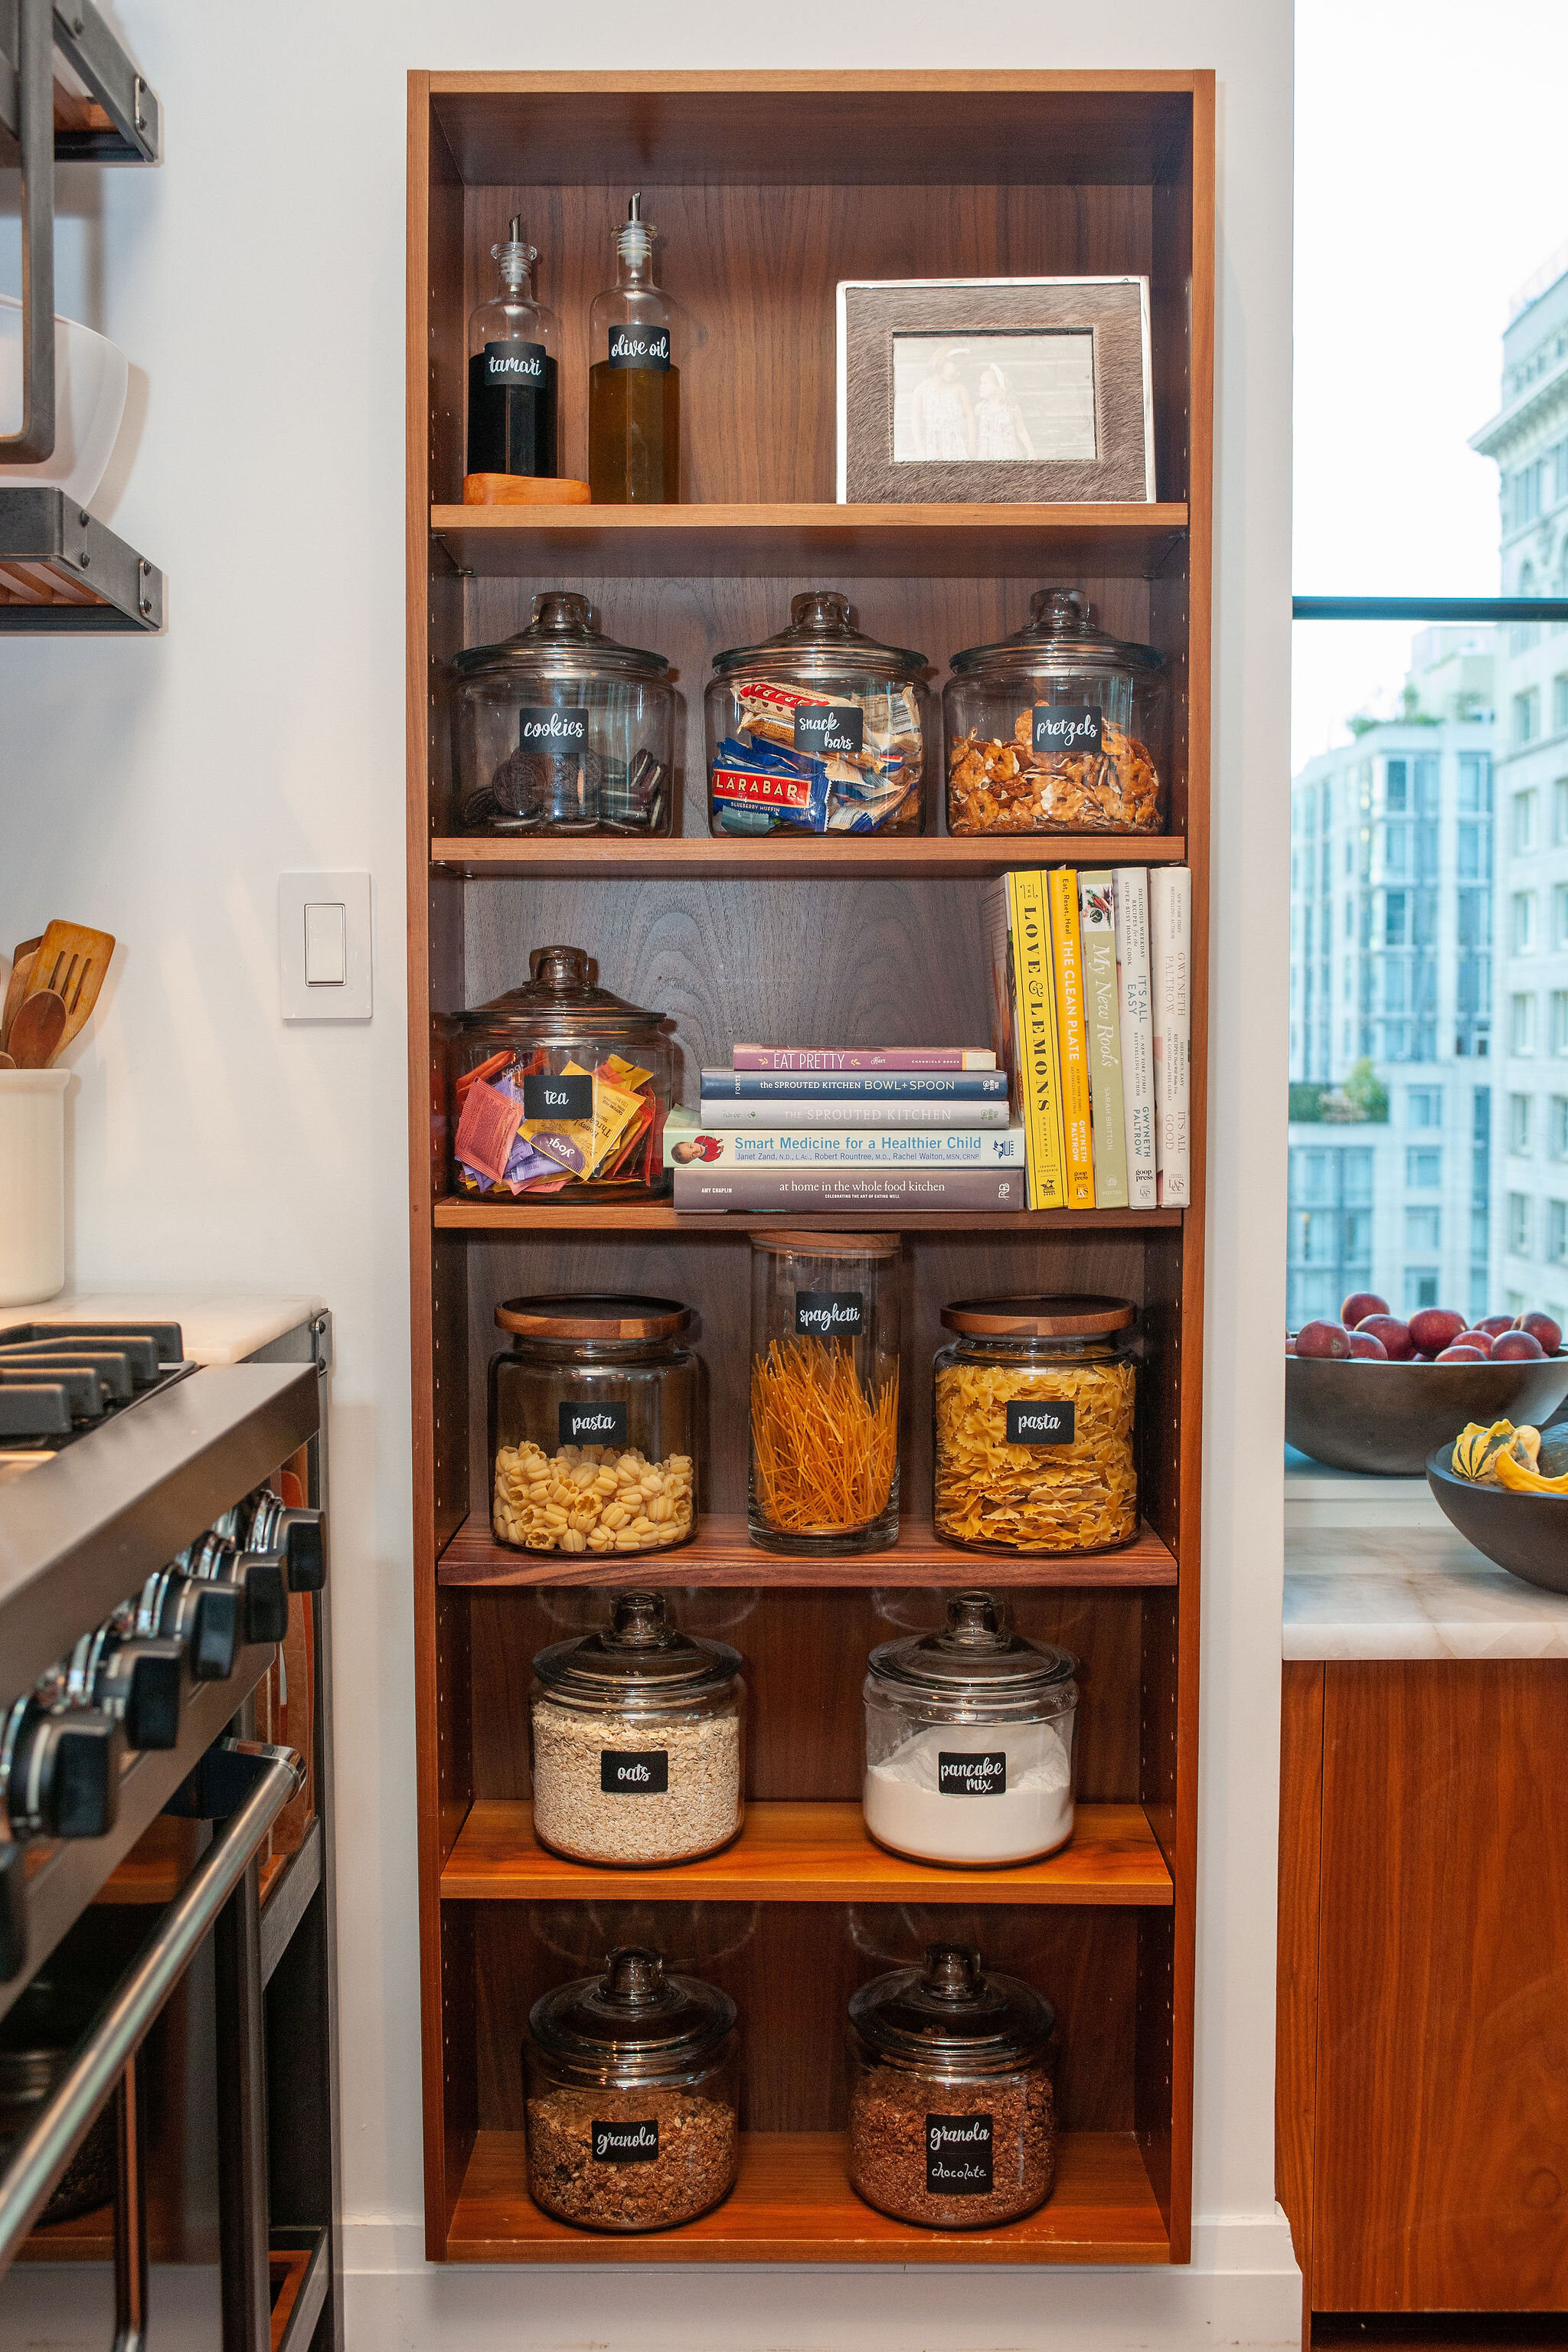
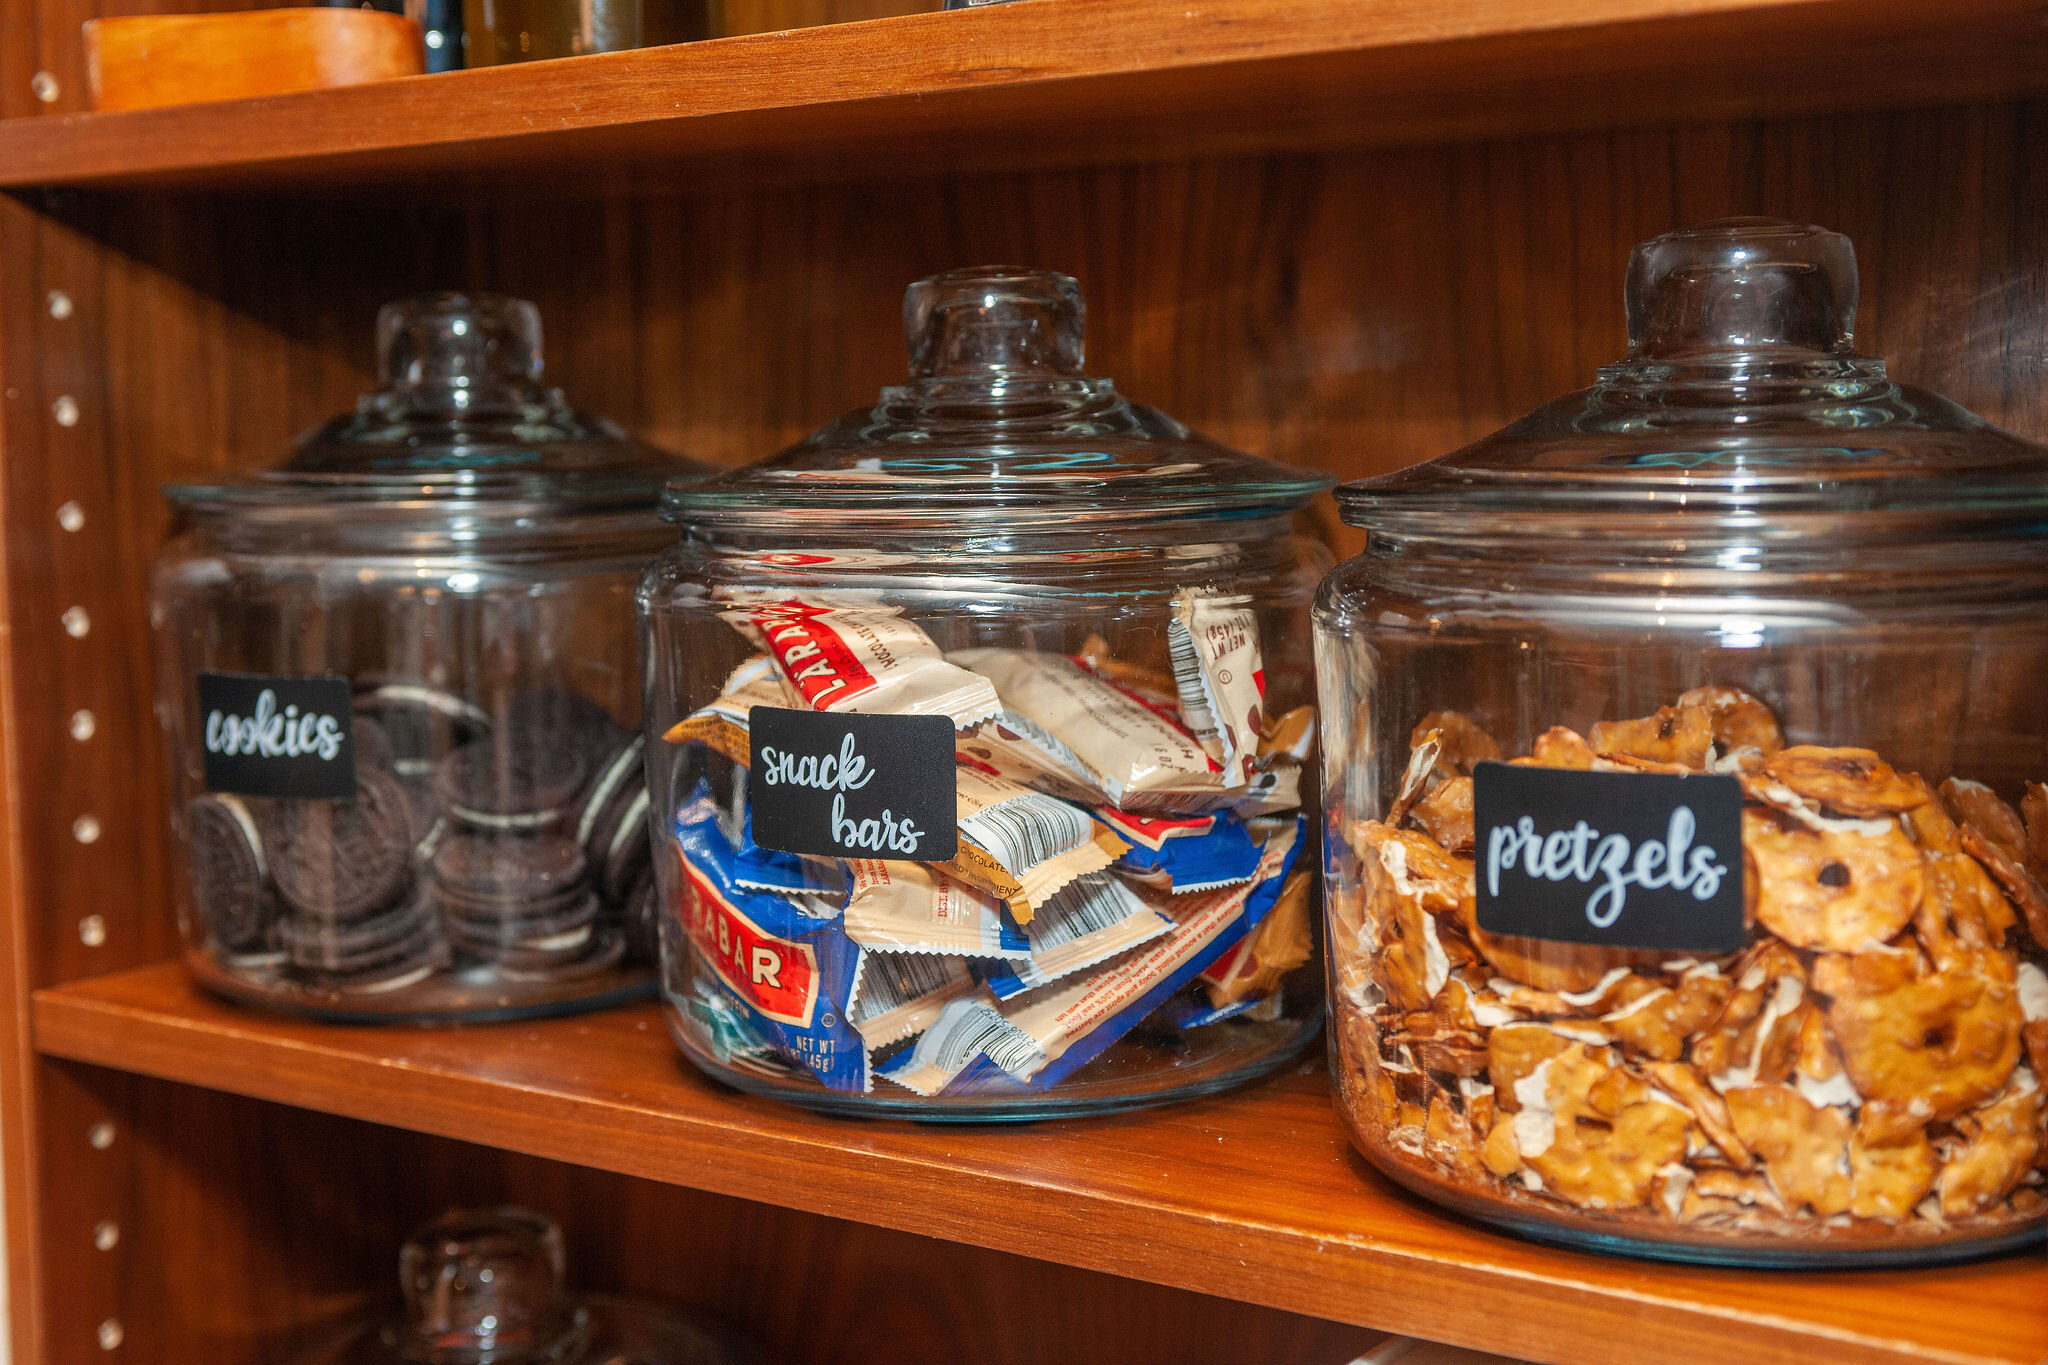
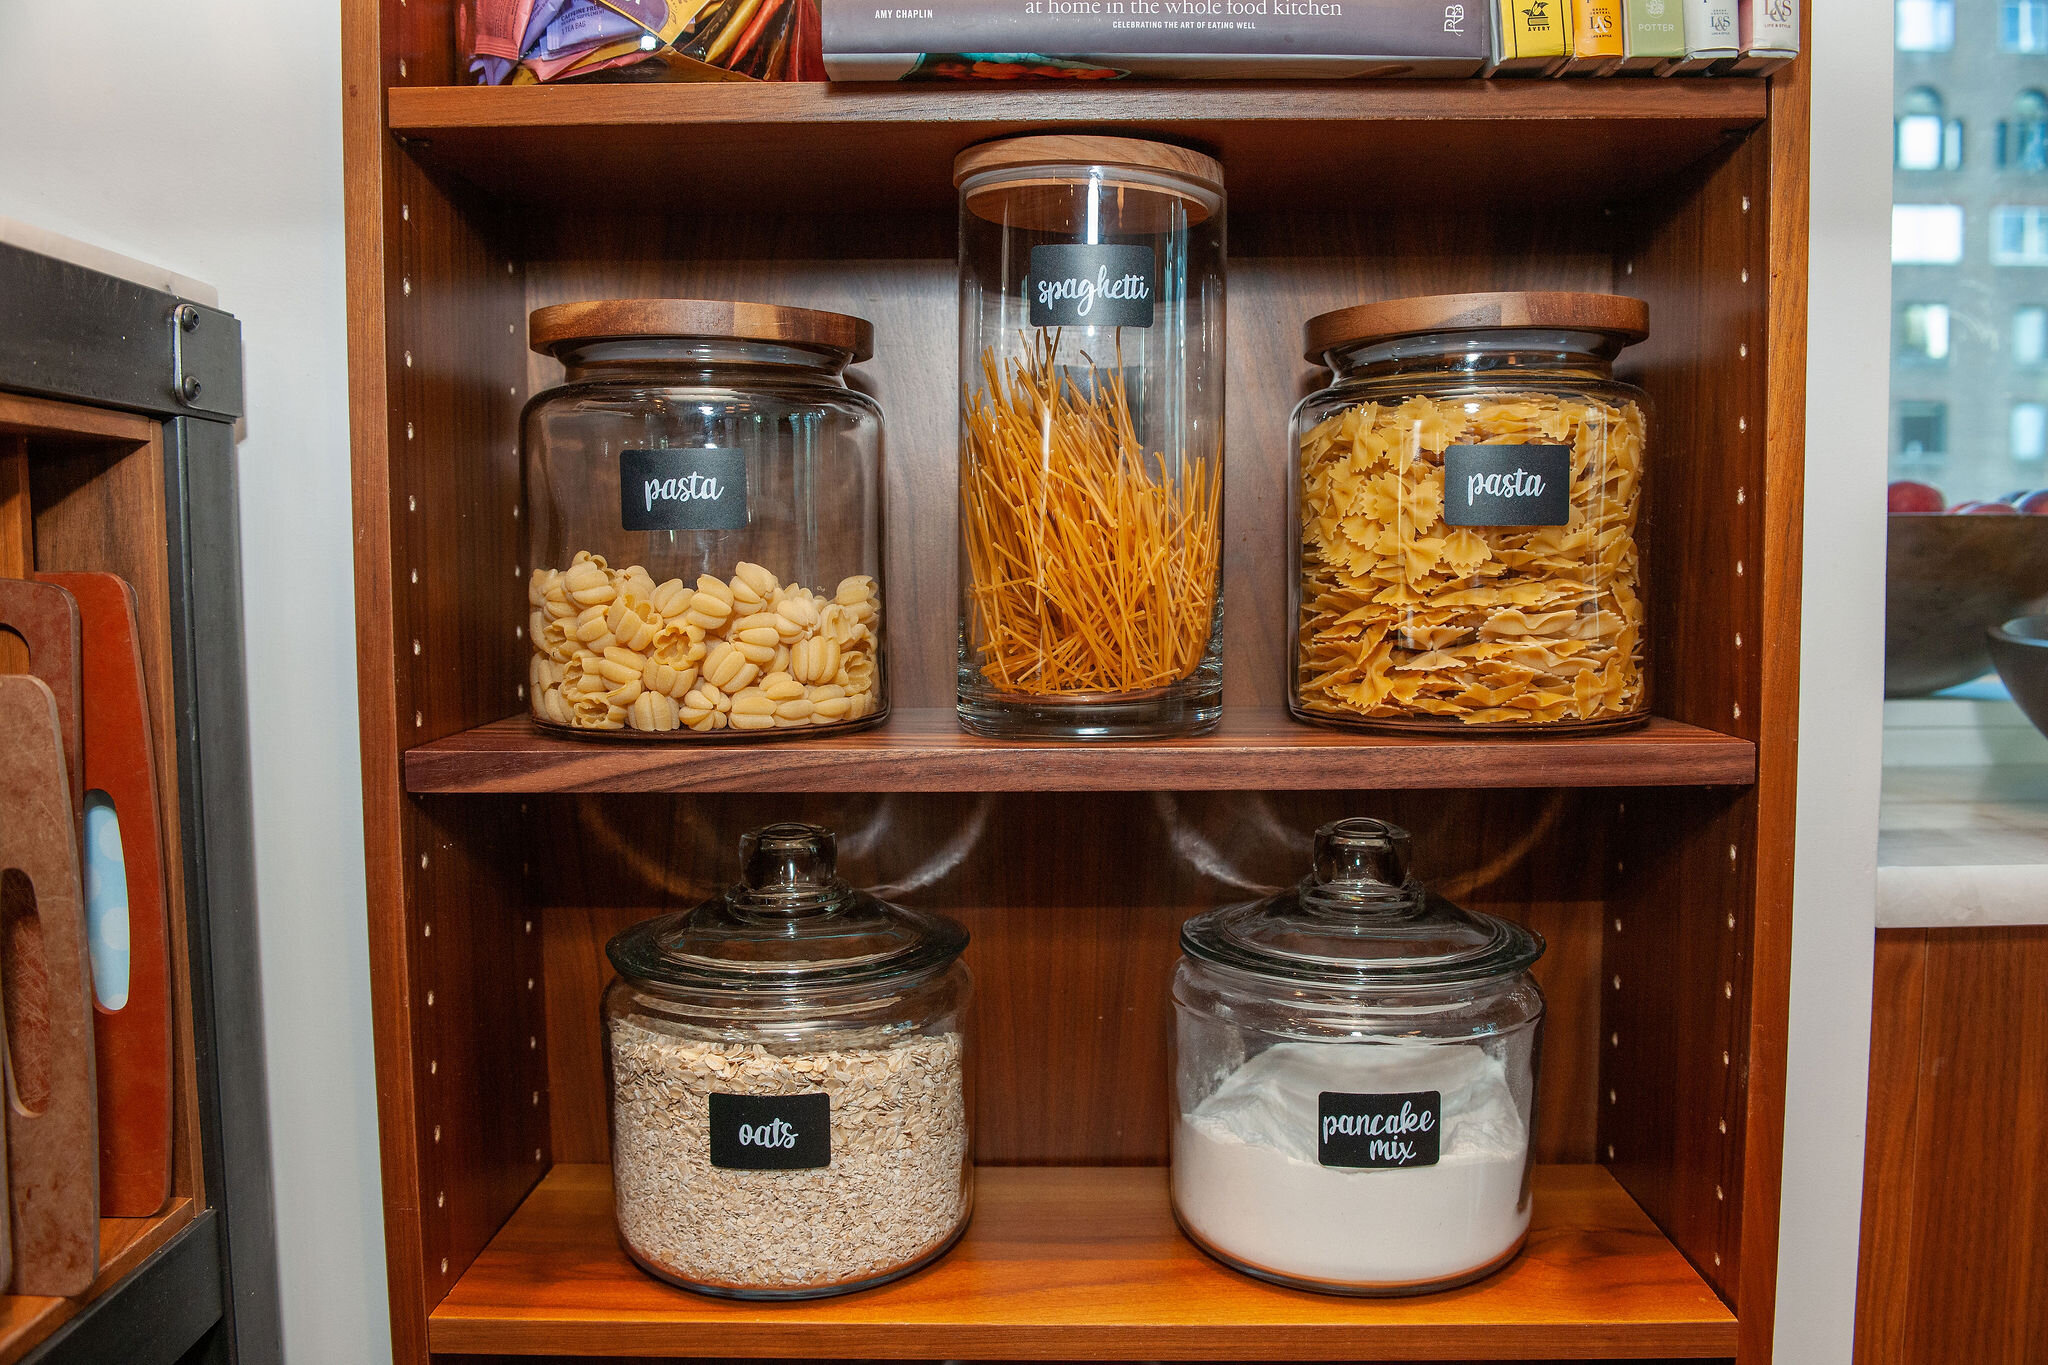
My family lives in an NYC apartment. While we are lucky to have a decent amount of space for our family of four, we certainly don’t have the epic kitchens and pantries of my friends who have defected to the suburbs! A few years ago, trying to seek out every inch of storage I could, I hired a contractor to cut into a small wall in our kitchen and build additional shelves for my cookbooks and other random items. Great idea in theory. However I soon realized I rarely cook these days and when I do it’s my own recipe, not from a book! The cookbooks were collecting dust and had to go! In there place I called upon the lovely Annie and Michelle of Henry and Higby to help me create a decanted pantry which is such a better use for my extra shelves! Now all of the items we use every day such as pasta, oats, snack bars and yes cookies can be easily accessed! They look great too!
Why a decanted pantry? Why not just put our pantry items on the shelves as they are? Here are just some of the reason Annie and Michelle gave me for why decanted is best:
It eliminates the visual clutter that comes with often unattractive food packaging.
It can make it easier to see and store food when you choose consistent and often stackable containers.
You can easily see how much you have left of your favorite foods which makes it easier to pull together shopping lists and often leads to less wasted food. No more buying a whole new bottle of olive oil when you have a half full one!
It can make it easier to use some products like flour which is much easier to access out of a large glass jar then out of a paper bag that can rip. No more flour explosions on your clothes and the counter top!
Henry and Higby’s Pantry Decanting Tips
Pick the Right Jar
It is important to consider the size of the jar and how you use jars before making your purchases. If you are going to be decanting granola and cereal, you may want to consider wide-mouth jars or canisters with a removable lid to make it easier to use a scoop and/or pour the cereal out. If you are someone who always buys a 5 lb bag of flour, make sure your flour jar is going to be big enough to hold it al! Otherwise you are going to need to find room for the excess flour which total defeats the purpose.
Cleaning Them Out
Make sure your new jars are thoroughly cleaned and dry before you use them. Any remaining moisture will cause your dried goods to clump.
Use a Label
Always use a label to mark the contents of your jar, the date it was stored and/or the expiration date. This can either be a formal label or even a piece or tape with a sharpie. Try using washi or painter’s tape which will more easily come off the jar once the contents are changed. If tape isn’t handy, you can try using a dry erase marker right on the jar.
Be Realistic
A fully decanted pantry looks beautiful but can take a lot of time and money to keep up! Be realistic about what is most important to you. Don’t make the process of food shopping and putting things away even more tedious – decant the items that make the most sense for you and your family and are the easiest to maintain. Then, if aesthetics and accessibility are important to you, consider organizing the rest of the items in bins or other baskets.


